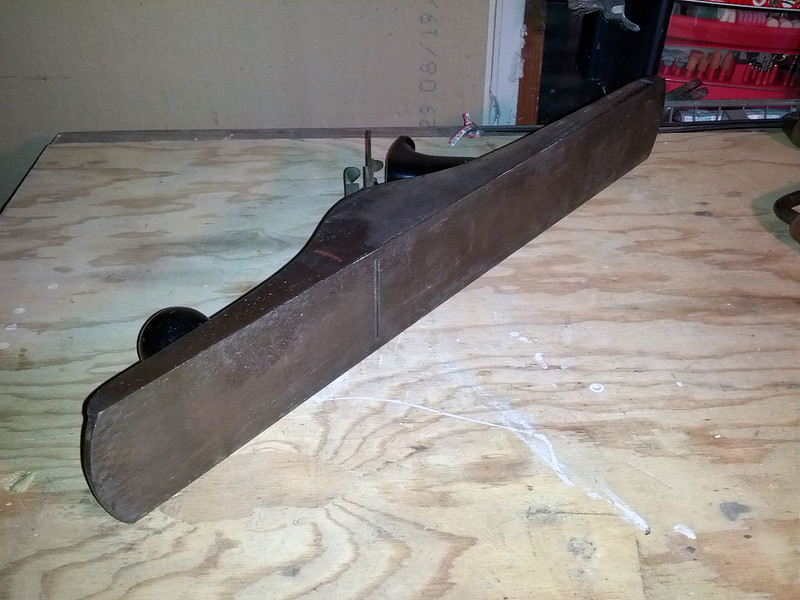
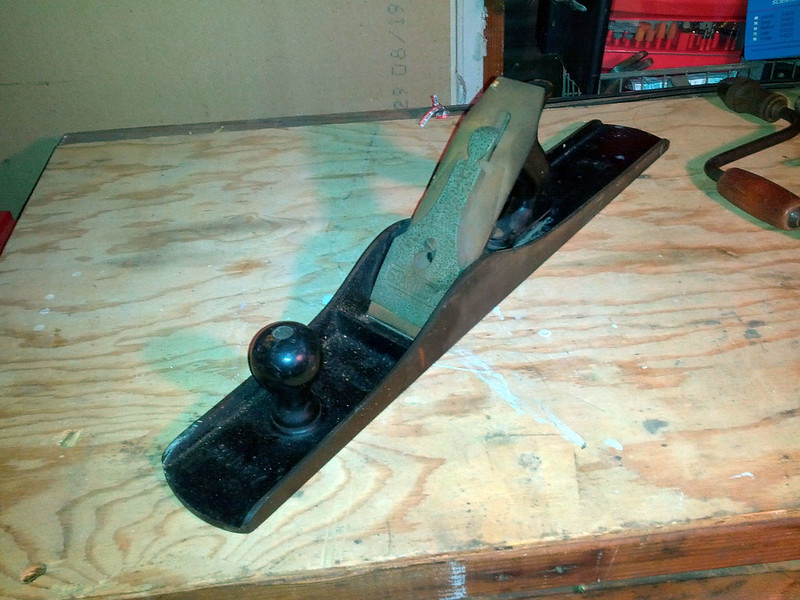
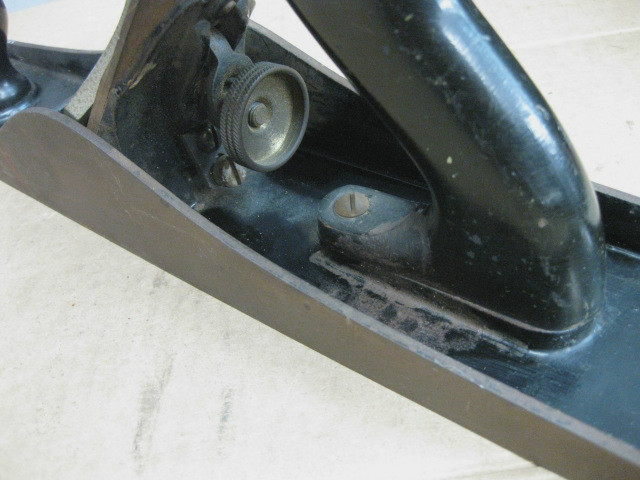
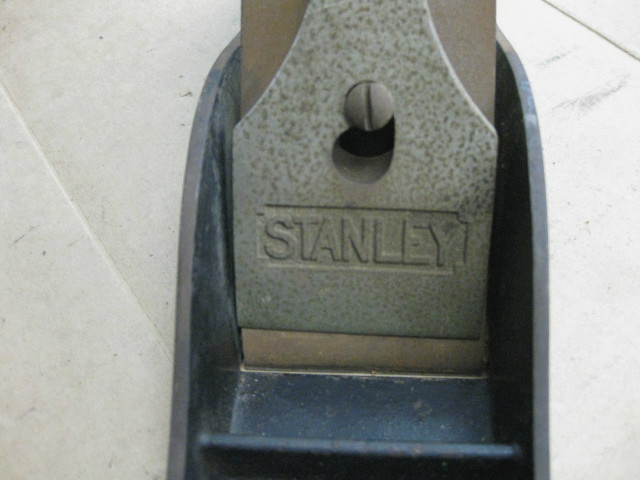
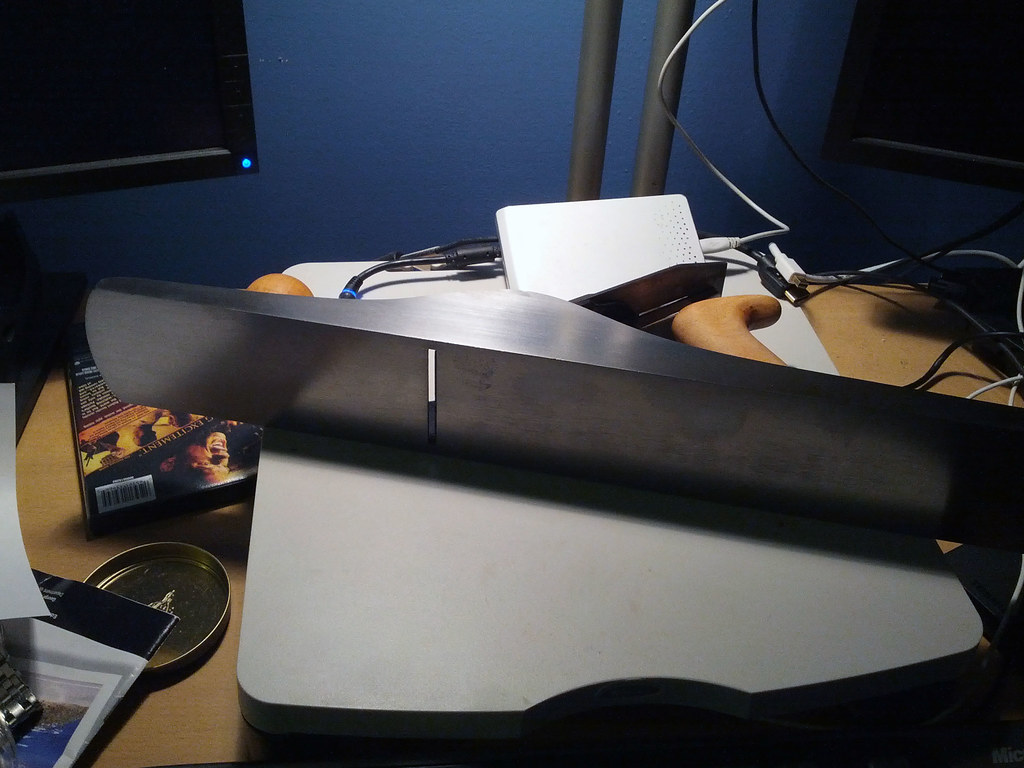
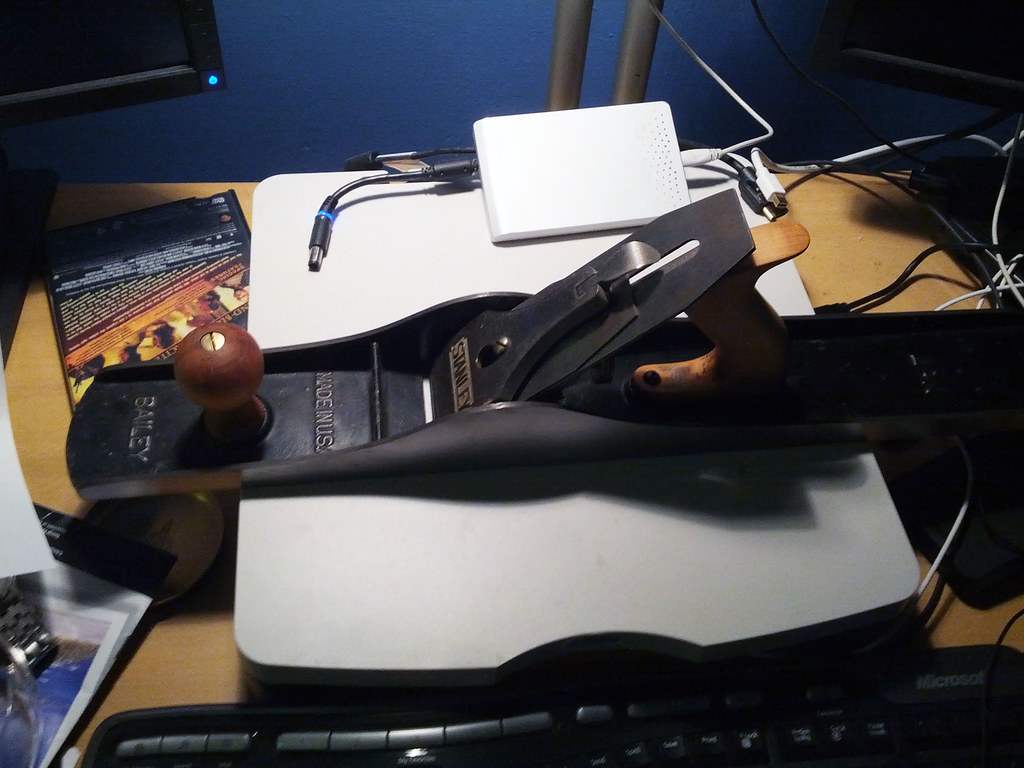
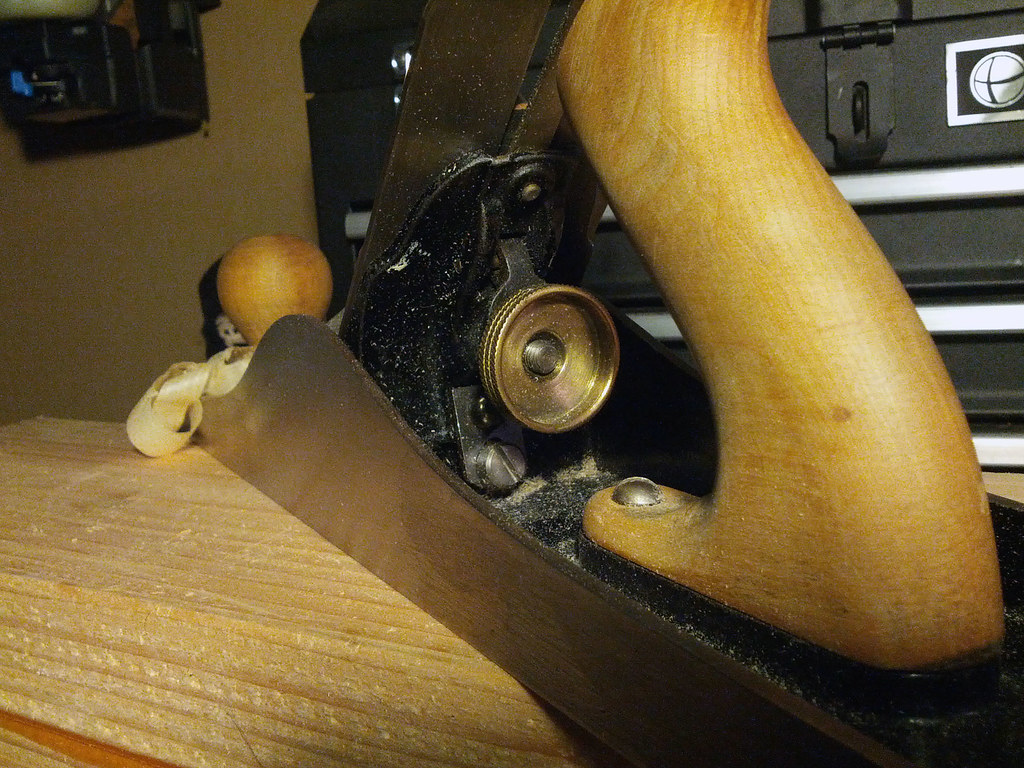
Contrary to the initial appearance, these pictures from the auction looked promising. All the parts, aside from a layer of what I hoped to be surface rust, seemed complete. This plane had everything I was looking for including a frog adjustment screw and brass depth knob. With my limited knowledge of planes, I would peg this example to be a Stanley Type 16 judging from the kidney lever cap hole, raised tote and new frog design. This would date the tool between 1933-1941! It was interesting to discover that during WWII metal was need to make ammunition, so the depth adjustment screw was replaced with plastic ones for WWII era planes. Luckily this particular plane is pre WWII. (Type Study). It was pointed out later to me in the comments that this is actually a type 18, because of the 1) Ogee style frog 2) Brass adjuster 3) Black painted handles. 4) Diagonal knurling on the brass adjuster. Thanks for the info!
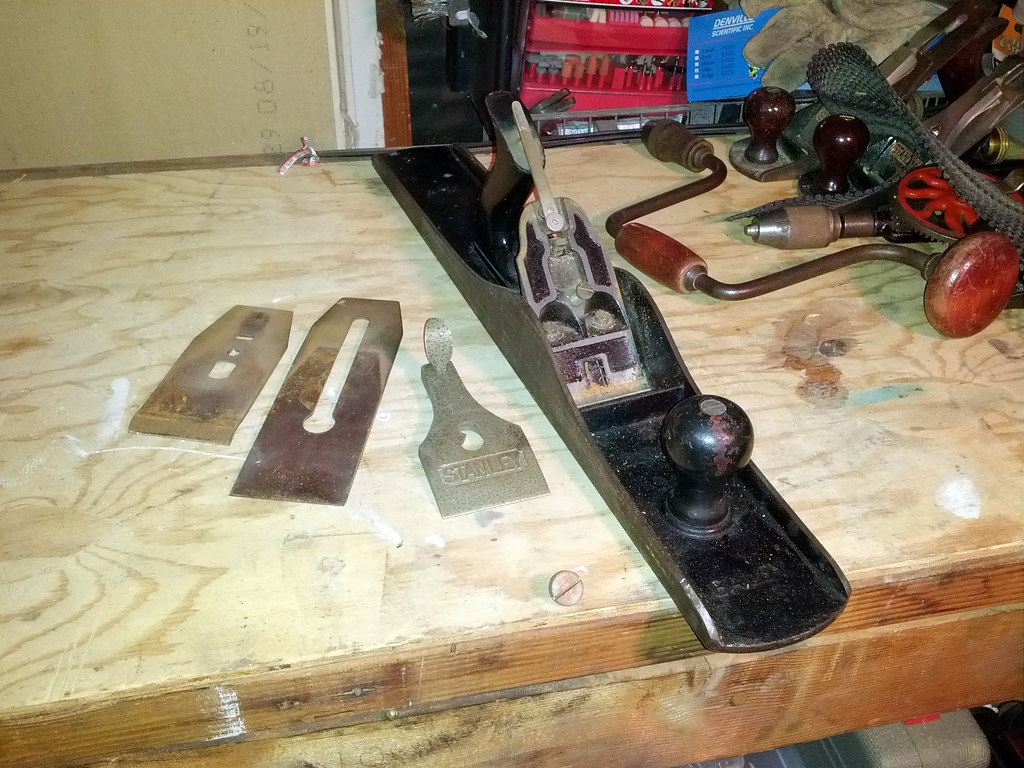
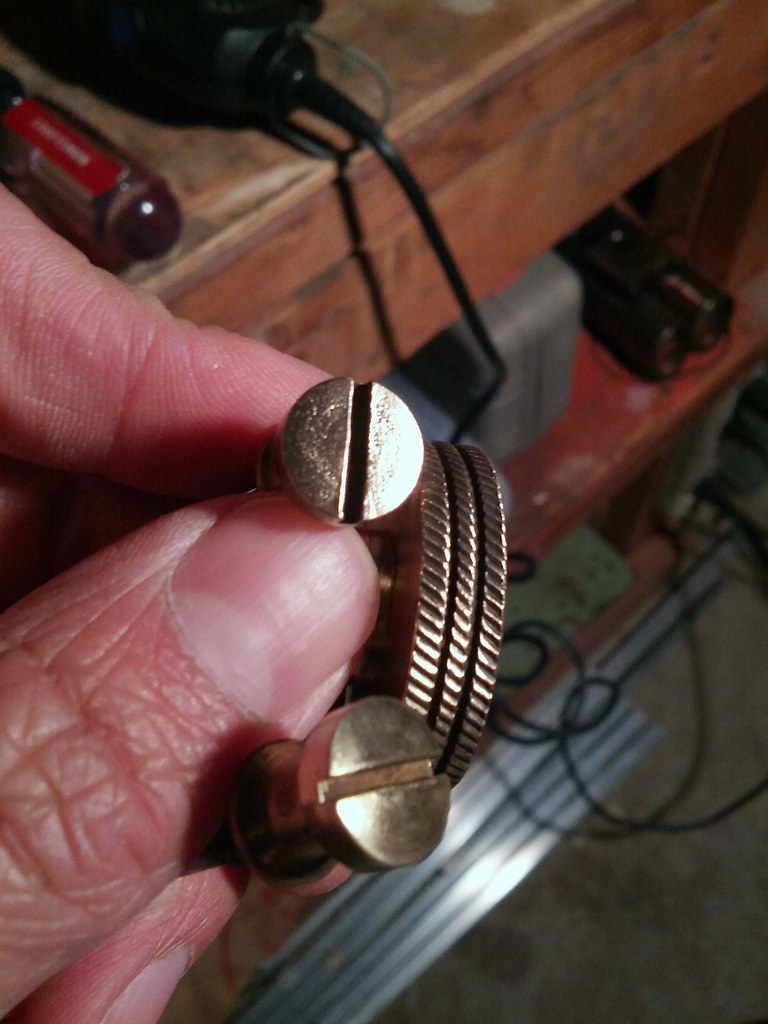
Since this a not considered a collector's plane, I plan to restore this and make it a user. The first step is to strip down all the parts and get a good look at what needs to be done. There is a light coating of surface rust on the lever cap, cap iron, and cutting iron. I plan to use some steel wool to remove a majority of that. The body of the plane has a thicker layer of rust, but luckily no major pitting. The frog is also rusted towards the bottom. All the screws are rusted and the brass is faded. I started off with a wirebrush on a rotary tool which easily polished all the brass pieces to their shiny former selves.
I decide to use electrolysis to remove the rust from the frog. Since the frog is such a odd shape and the rust can be difficult to reach with steel wool or sand paper, this process makes it much easier.
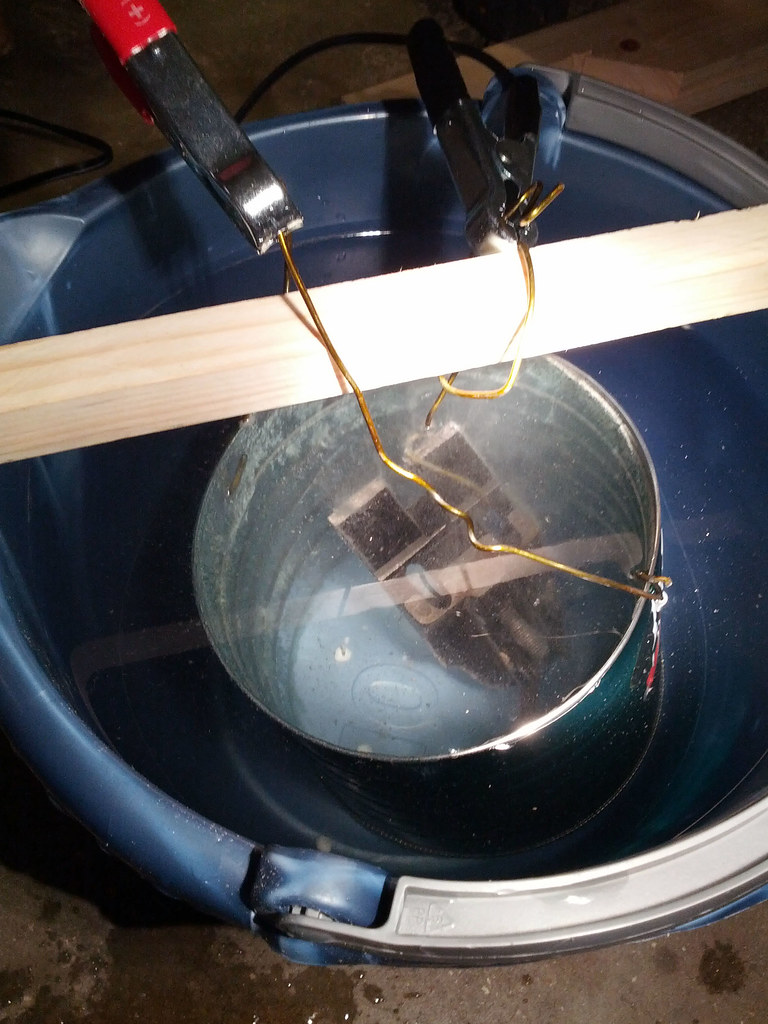
Electrolysis uses electrical current (DC) to drive a chemical reaction of interchanging atoms and ions from one item to another (in the direction of the electrical gradient). The part being cleaned is connected to the negative terminal of car battery charger and a sacrificial piece of metal (anode) is connected to the positive. I am using a coffee can as the anode. Having an anode surround the piece being cleaned helps remove rust from all directions. Both items are submerged in a electrolytic solution, I am using Sodium Carbonate aka washing soda.
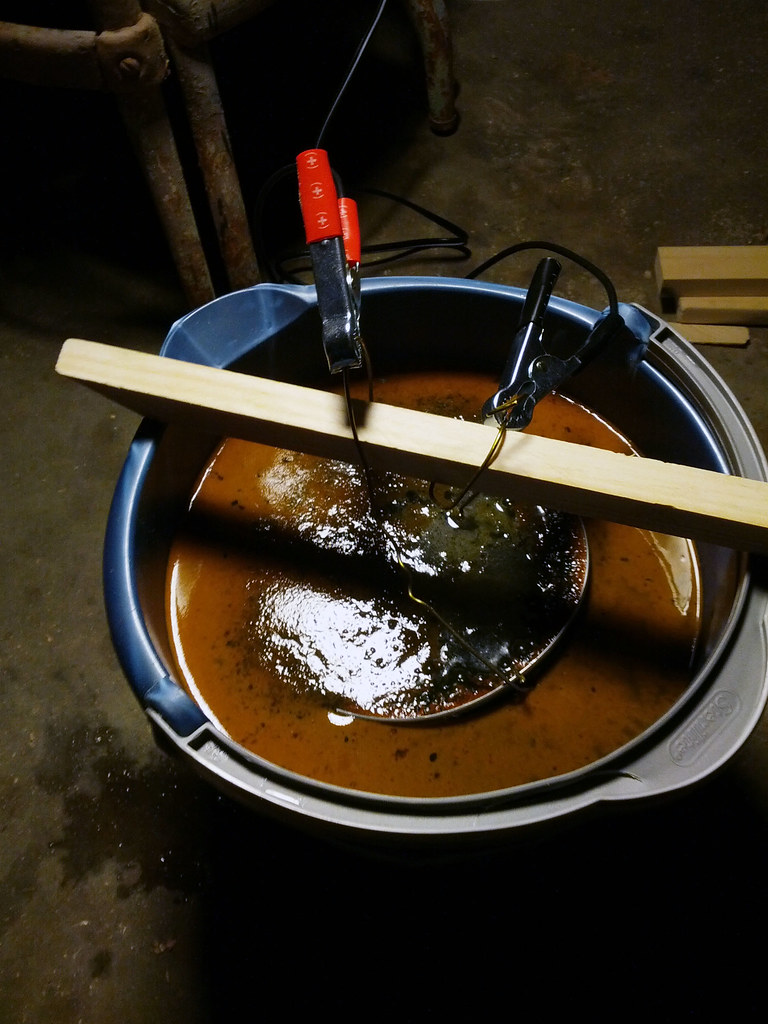
Once the battery charger is flipped on the rust will actually move from the part being cleaned to the anode, hence sacrificial piece of metal. This process will only remove rust and leave the metal in tact. The by product of this is a small amount of CO2, which can be seen in the bubbles rising from the frog. The reaction will continue until all rust particles have moved to the anode, in which case the bubbles stop and you are left with a rusty soup. An hour later, the bucket looks like the second image. Here are a couple great resources about electrolysis (Article1, Article2)

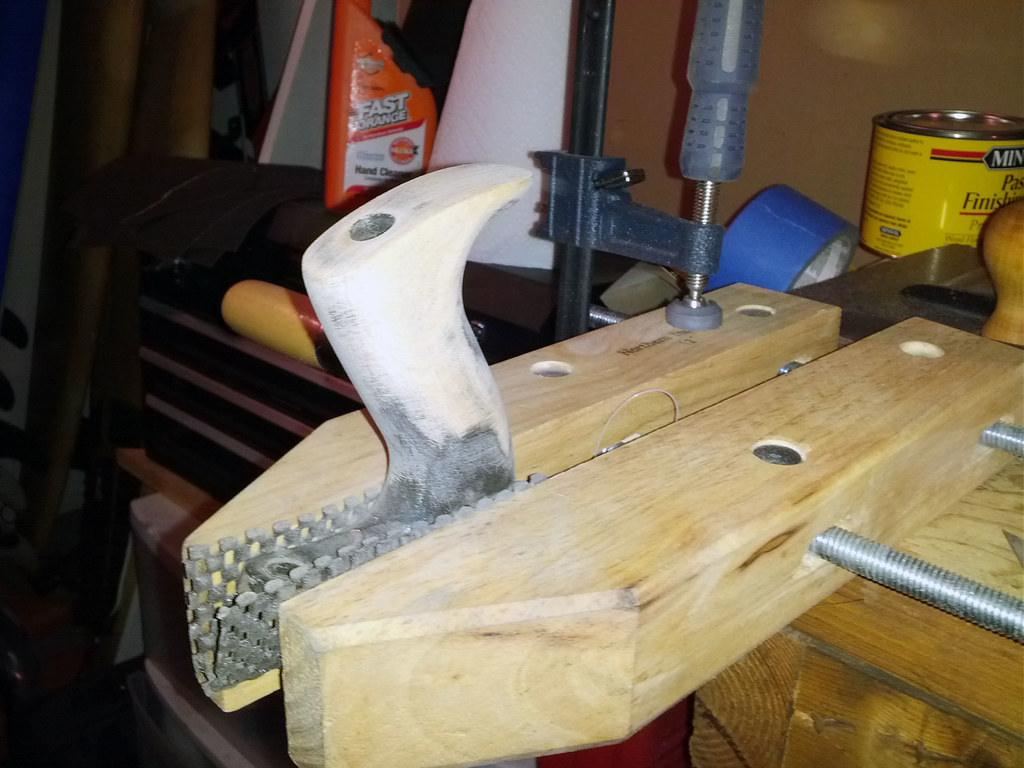
Once the frog comes out of the electrolysis process, it still needs some work. The electrolysis process leaves a black risdue on the surfaces of the metal which needs to be removed, I use steel wool. And the face of the frog, where the cutting iron sits, needs to be flatten. I need to do with without damaging the lateral adjustment lever. To do this I created a sanding jig.
The japanning (black paint) on the bodyof this Stanley is 90% in tact. Since I don't feel like repainting the the body of the plane, I will again be using electrolysis to remove the rust. This should leave the japanning unharmed, help minimize the amount of metal removal, and remove rust from the tapped screw mounts.
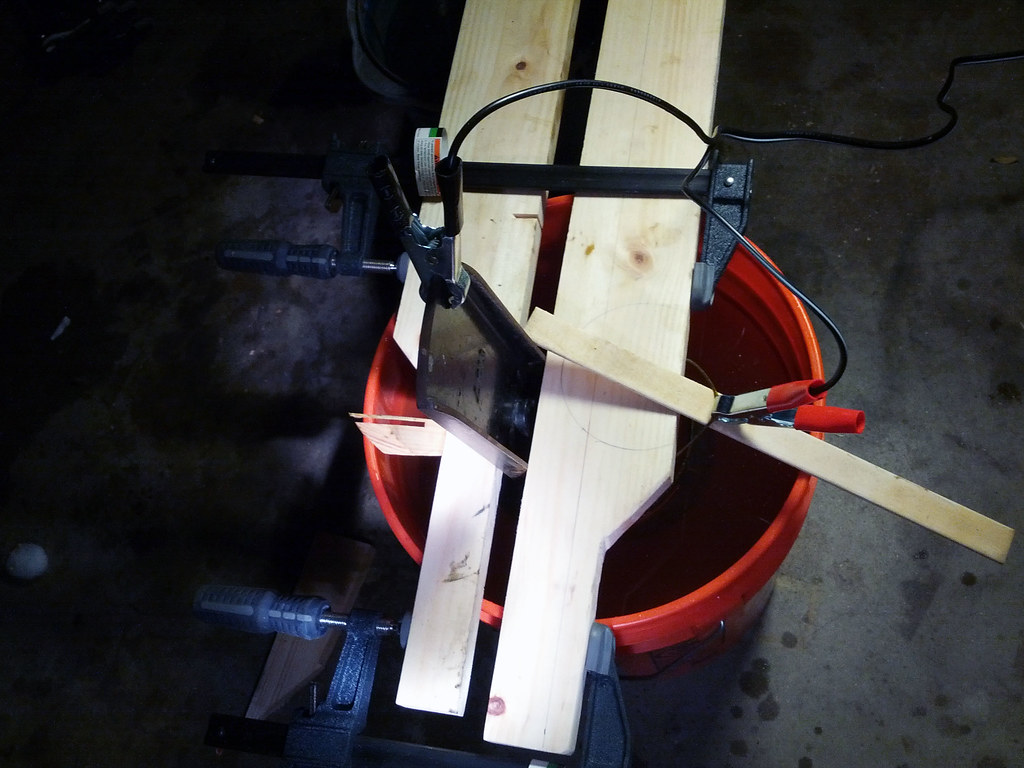
The length of the Stanley #7 is 22 inches and since this process requires that this item be submerged, I have to do this process in two rounds. The size of the plane also made it awkward to position the anode so that they do not touch. I had to get creative with some clamps and scrap wood to make it work. After the first round of electrolysis the difference is very apparent.
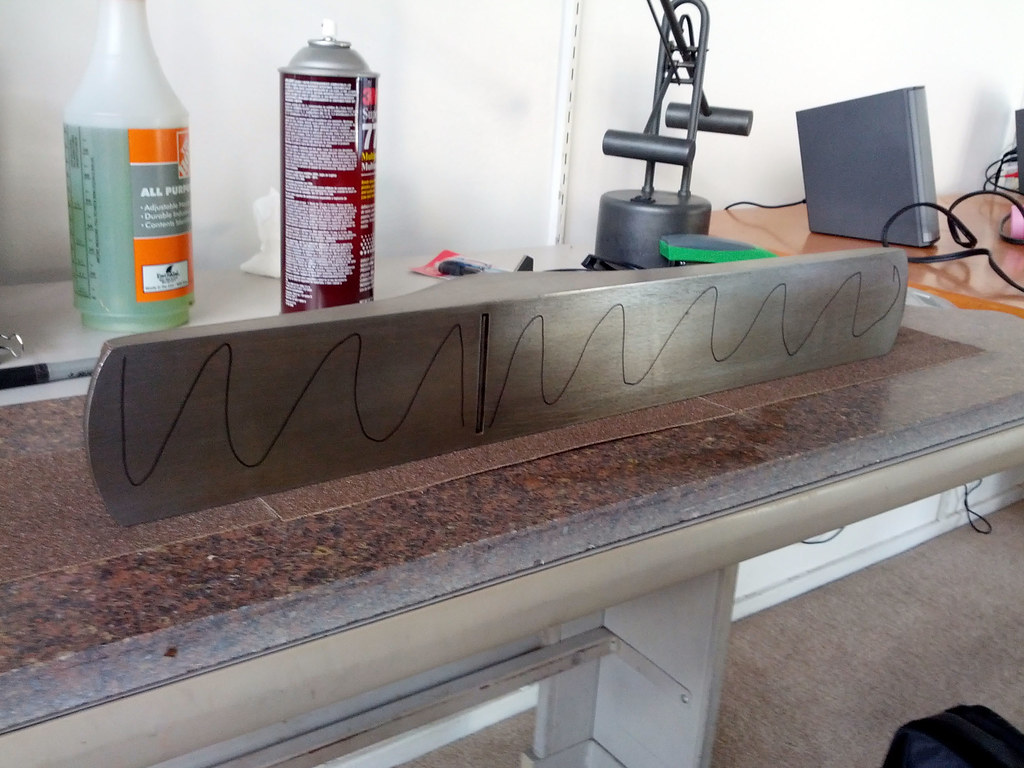
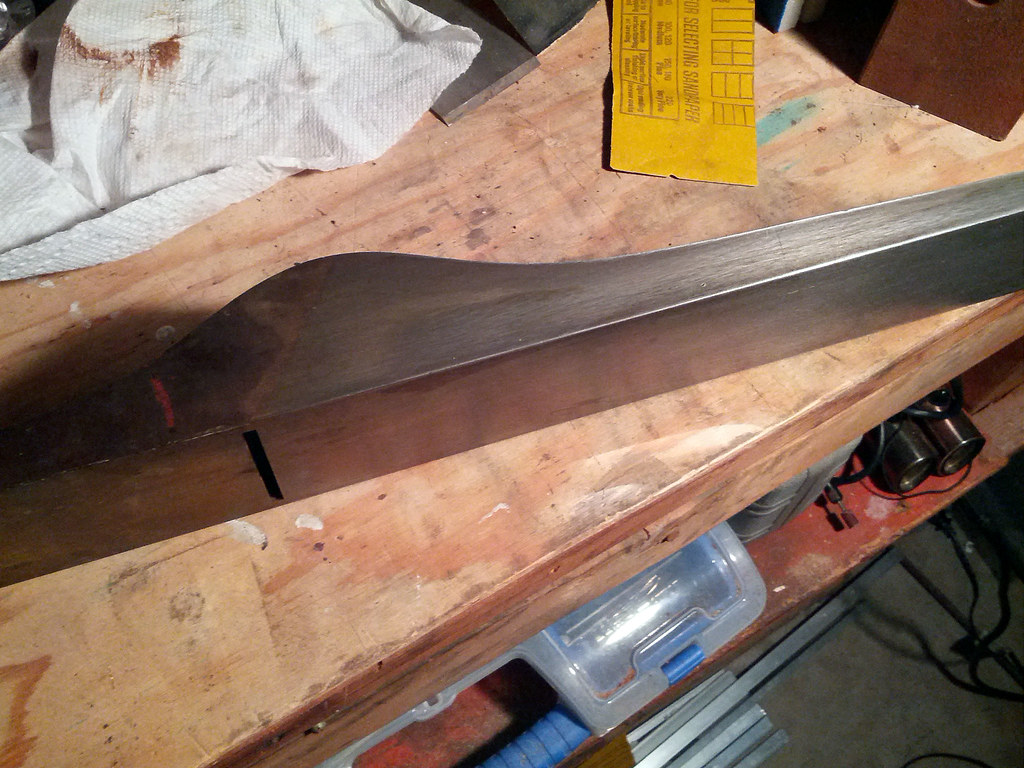
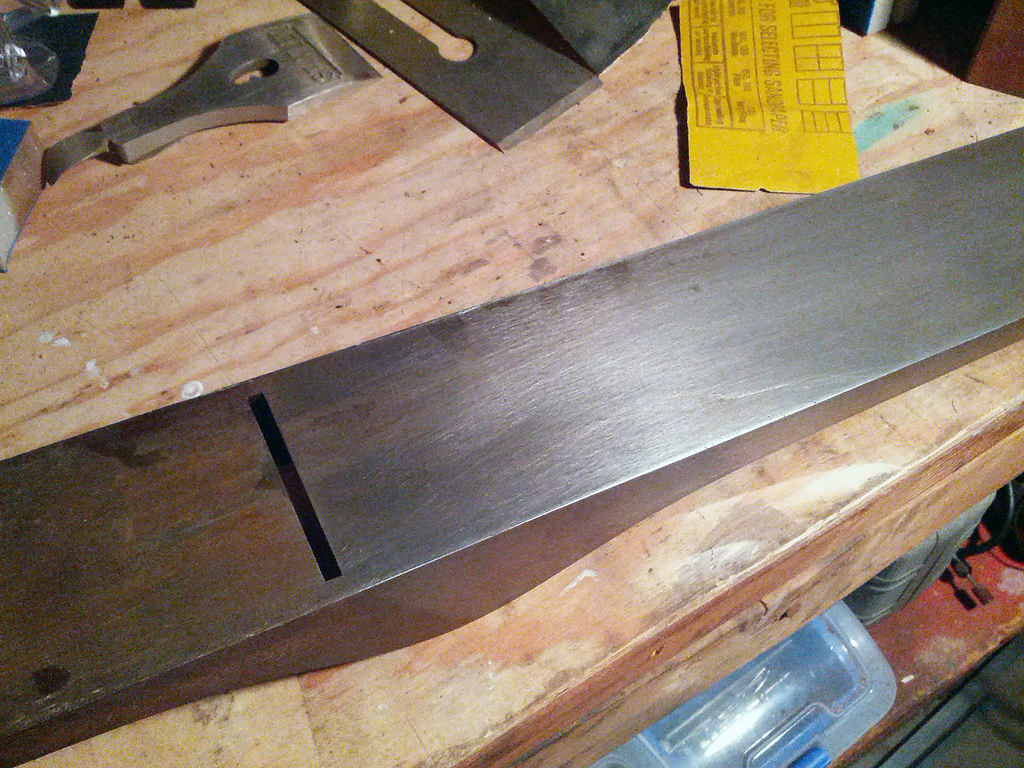
The most difficult and labor intensive task is flatting the bottom. A jointer plane is useless if its not true and flat. I was able to acquire a long piece of granite which will be my reference surface. I use 3M adhesive to stick sand paper on this surface. Now with all the parts reattached, I slowly slide the plane back and forth until the bottom is flat. Make sure the frog, iron, chip breaker and lever cap are all attached for this process, since these items do put tension on the body which can affect the lapping/flatting process.
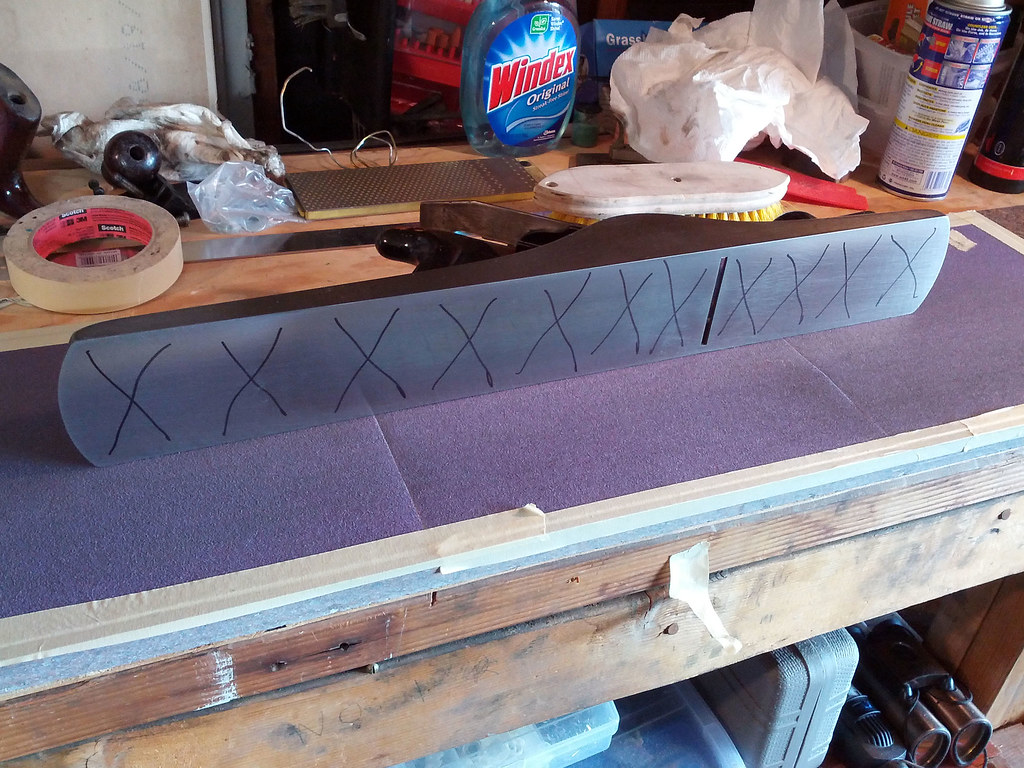
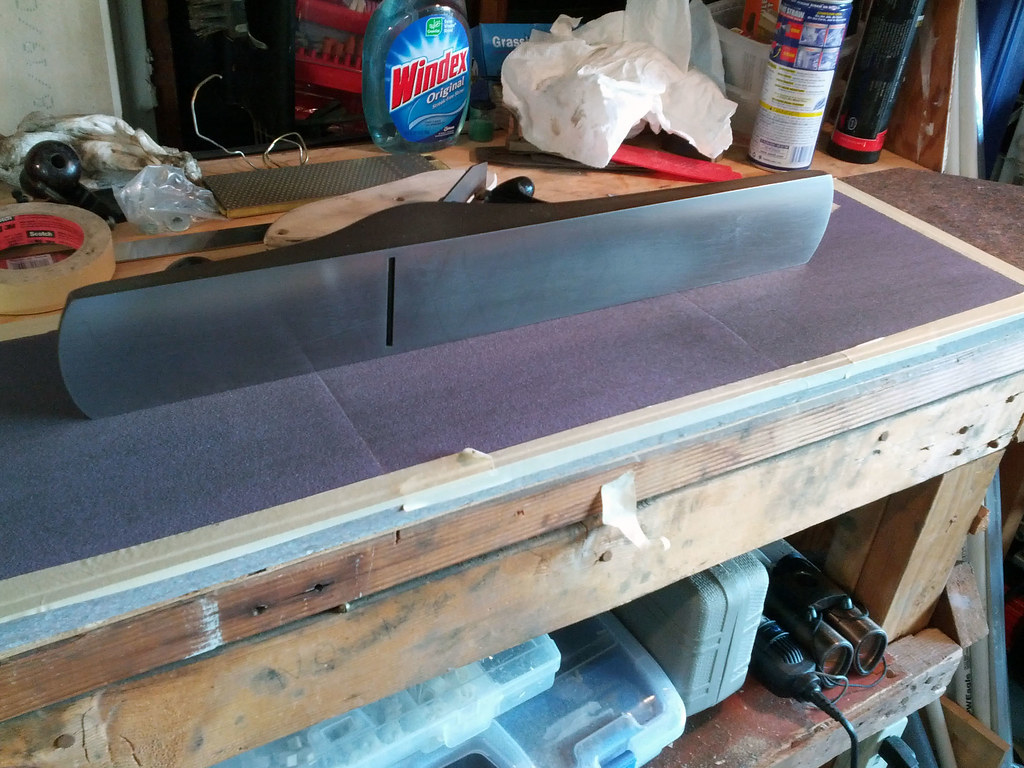
I use a sharpie to mark the bottom surface. This will help indicate whether the bottom is completely flat. As I run the plane along the sandpaper, I can see that sharpie lines (metal) is being removed from the sides front and back of the plane. This tells me that the middle part is low and the edges are high points. I continue sanding and remarking the bottom, until the sand marks appear evenly across the entire length of the plane, telling me all high spots are flattened. This takes forever and I go through over a dozen sheets of 50 and then 150 grit sand paper. I do the same process for both sides of the plane body.

Personally I am not a big fan of the smooth surfaces and the look of the black painted knob and tote. I decide to remove the paint and see how the wood grain looks. The knob was easy. I attached a long bolt through the middle of the knob and inserted it into a cordless screw driver, with it spinning the sand paper made easy work out of the paint removal. The tote was a different story. It took much longer and the paint along the convex part of the curves was annoyingly difficult to remove.
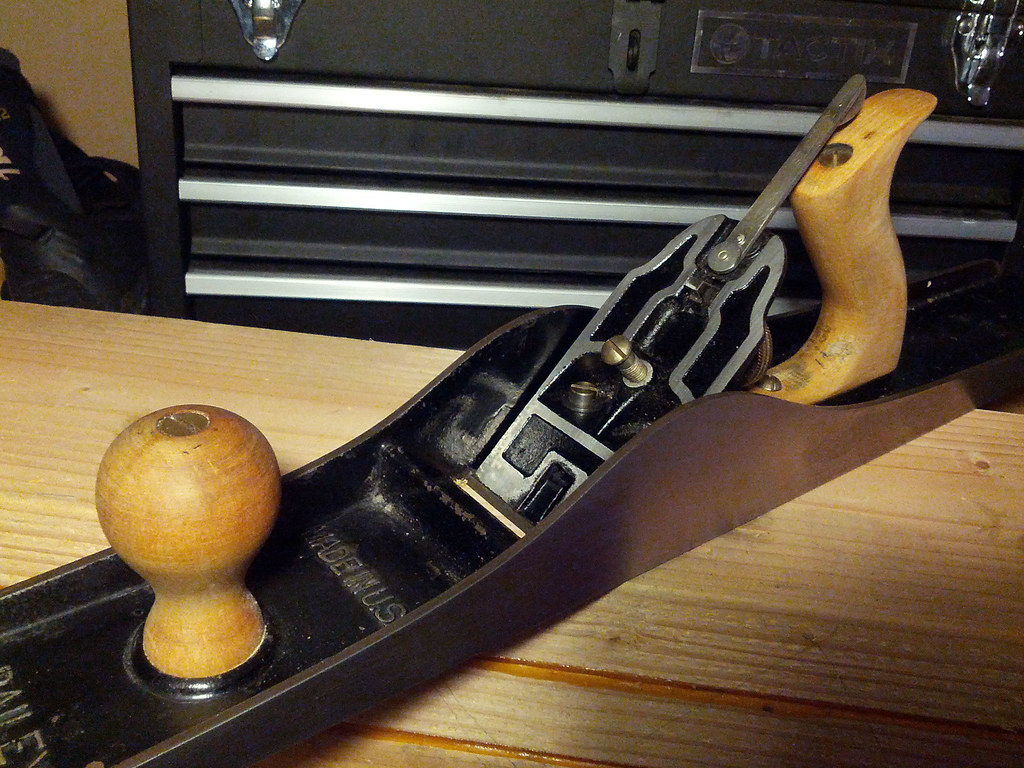
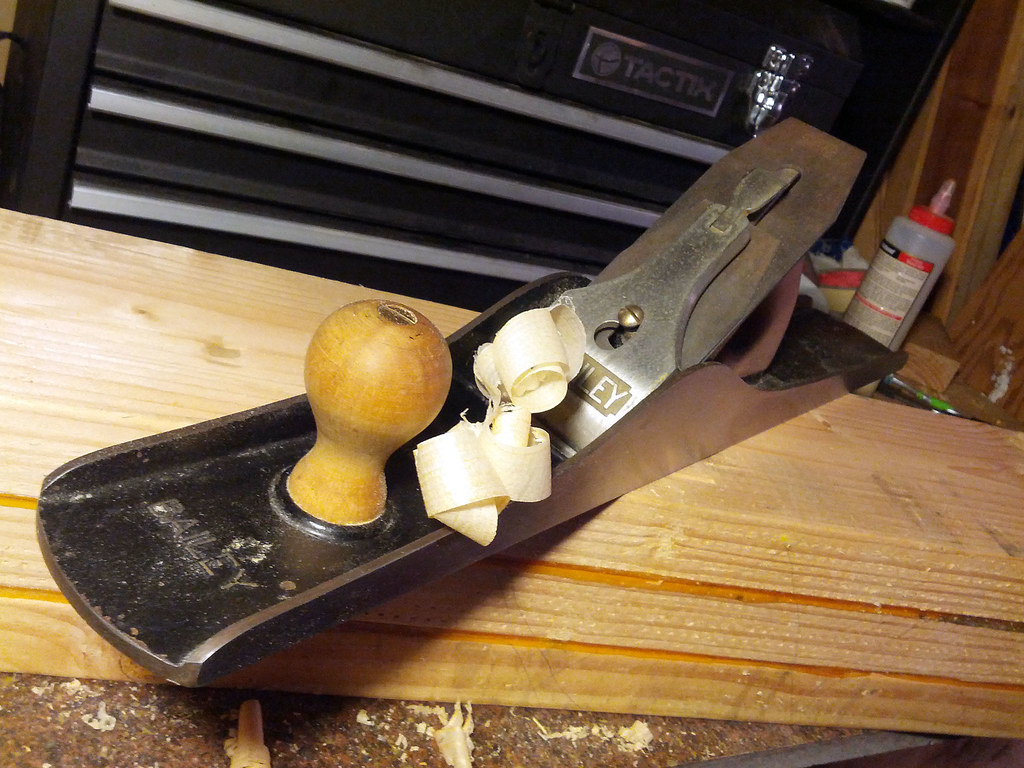
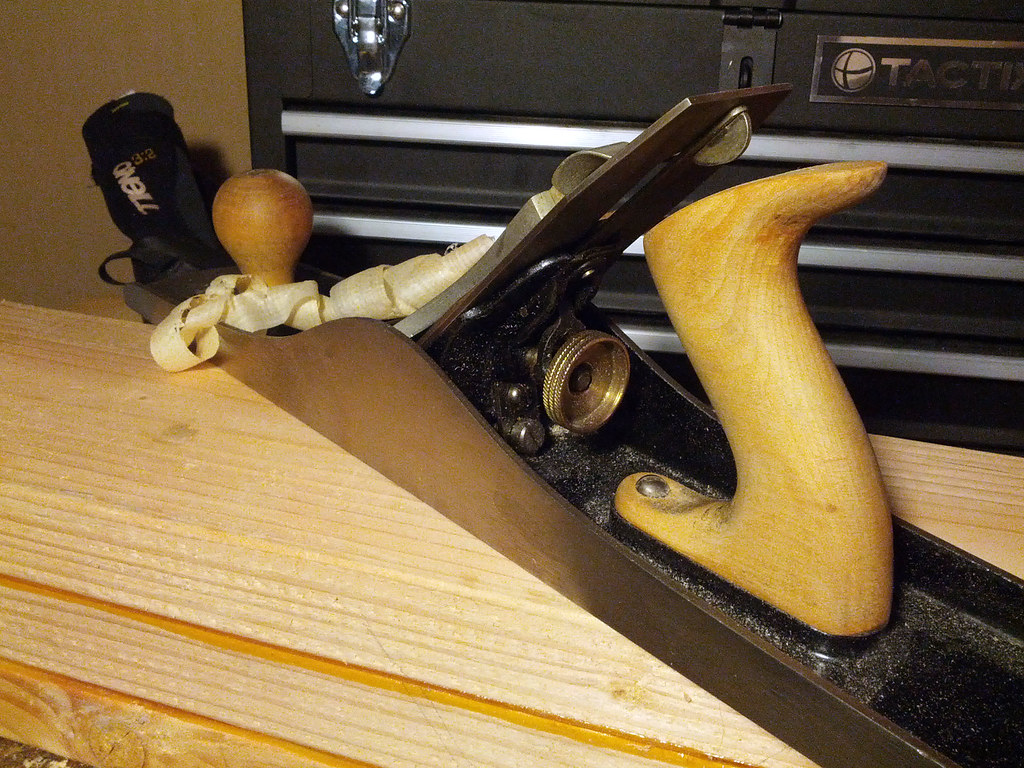
I sharpened the blade iron using some diamond stones and reattached everything back together. Here is the restored Stanley #7 Jointer Plane
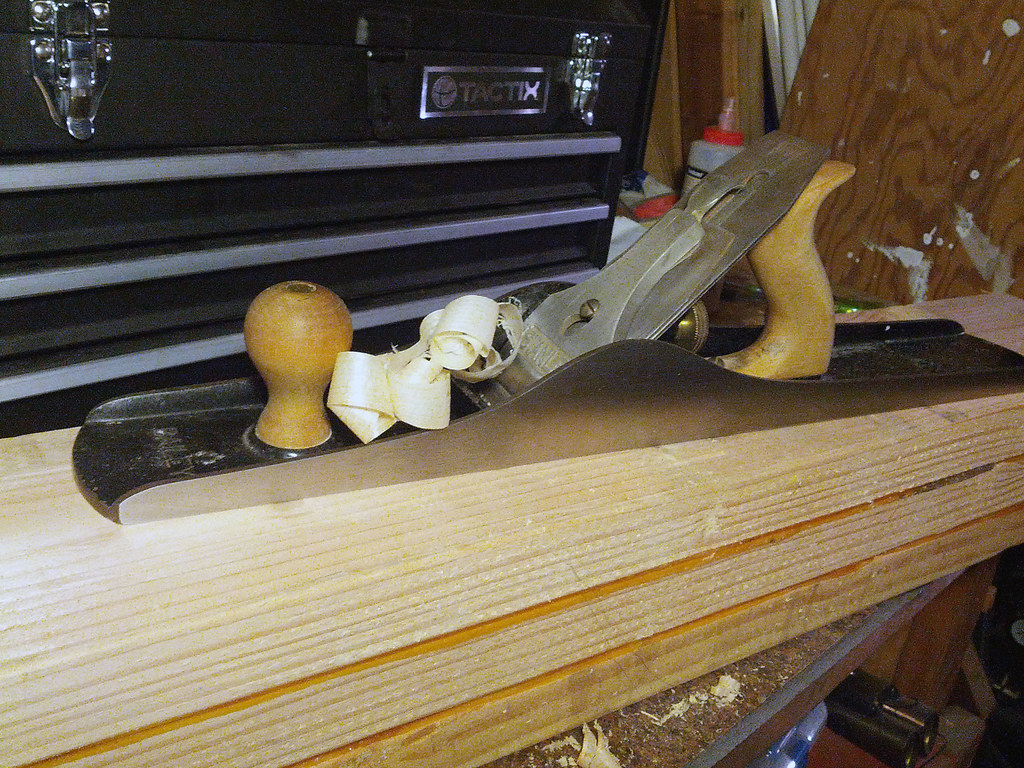
Here are a few more shots of it in action several months later. I am pretty happy with the restore and this plane has given me a lot of great performance. Its amazing how much a little TLC, can change piece of junk to a fine woodworking instrument.
Great work!
ReplyDeleteInstead of sanding off paint, use paint stripper next time. You will be happy with the speed.